Jamie
Say you’ve just shot a dozen clips and a pile of photos on your Android phone. You need them in an editing project on your Mac, and your internet keeps cutting out. Most people reach for Google Drive or Google Photos at this point, and there’s nothing wrong with either for backup or sharing.
But the files are already on your phone. Sending them through the cloud means uploading every one of them just so you can download them again on the Mac.
Plug in a USB cable, or use your local Wi-Fi, and you skip that round trip. I’ll compare the two approaches first, then show you how to do the whole thing in Finder without the cloud getting involved.
Going through the cloud vs. going direct
Either way, the same files end up on your Mac. What changes is the route they take. The cloud version goes phone, then Google Drive or Google Photos, then Mac, where you view, stream or download them. The direct version goes straight from phone to Mac over USB or local Wi-Fi, with no internet service involved.
Here’s where people get caught out. Being able to see a file in a browser tab or a streamed Drive folder isn’t the same as having it on your Mac. In Google Photos, the file only lands on your drive once you download it.
| Cloud route | Direct route | |
| Data path | Phone to Google’s servers to Mac | Phone to Mac |
| Internet needed | Yes, to upload and to download | No over USB; only the local network over Wi-Fi |
| Uses Google storage | Yes | No |
| What ends up on the Mac | A local file only after you download or sync it for offline use | A file in the folder you picked |
When Google’s services are the better choice?
There are things a cable simply can’t do. Google Photos is made for photos and video. Turn on backup and it uploads your camera roll, plus any device folders you choose, and then shows them on every device signed in to your account.
Google Drive is more of a general-purpose file service. You can upload any type of file, share folders and get at your files from anywhere.
On a Mac, Drive for desktop puts Drive right in Finder. Mirror your files and they live on the Mac for good. Stream them instead and they’re only there offline once you’ve opened them or marked them for offline use.
One more thing: Photos, Drive and Gmail all draw from the same pool of Google Account storage. Photos also has two quality settings. Original quality leaves your files as they are, while Storage saver compresses photos and scales down any video above 1080p.
Why going direct is often easier?
If the files are already on the phone, a direct transfer has fewer moving parts. You plug in and copy. No uploading, no waiting, no downloading.
The bigger issue is your internet connection. Google itself says backup time depends on your connection and on how much you’re uploading, so a big batch of video on a slow or metered line can stall halfway or chew through your data plan.
A USB copy doesn’t need the internet at all once the app is installed. Wi-Fi transfer stays off the internet too, though both devices have to be on the same network and you’ll need to pair them first.
You also get to drop files straight into the project folder you’re actually working from, and none of it counts against your Google storage.
That doesn’t make direct transfer faster or more secure in every case. It’s just the better fit when the phone is sitting next to the Mac and the connection is the weak spot.
How to move files with MacDroid?
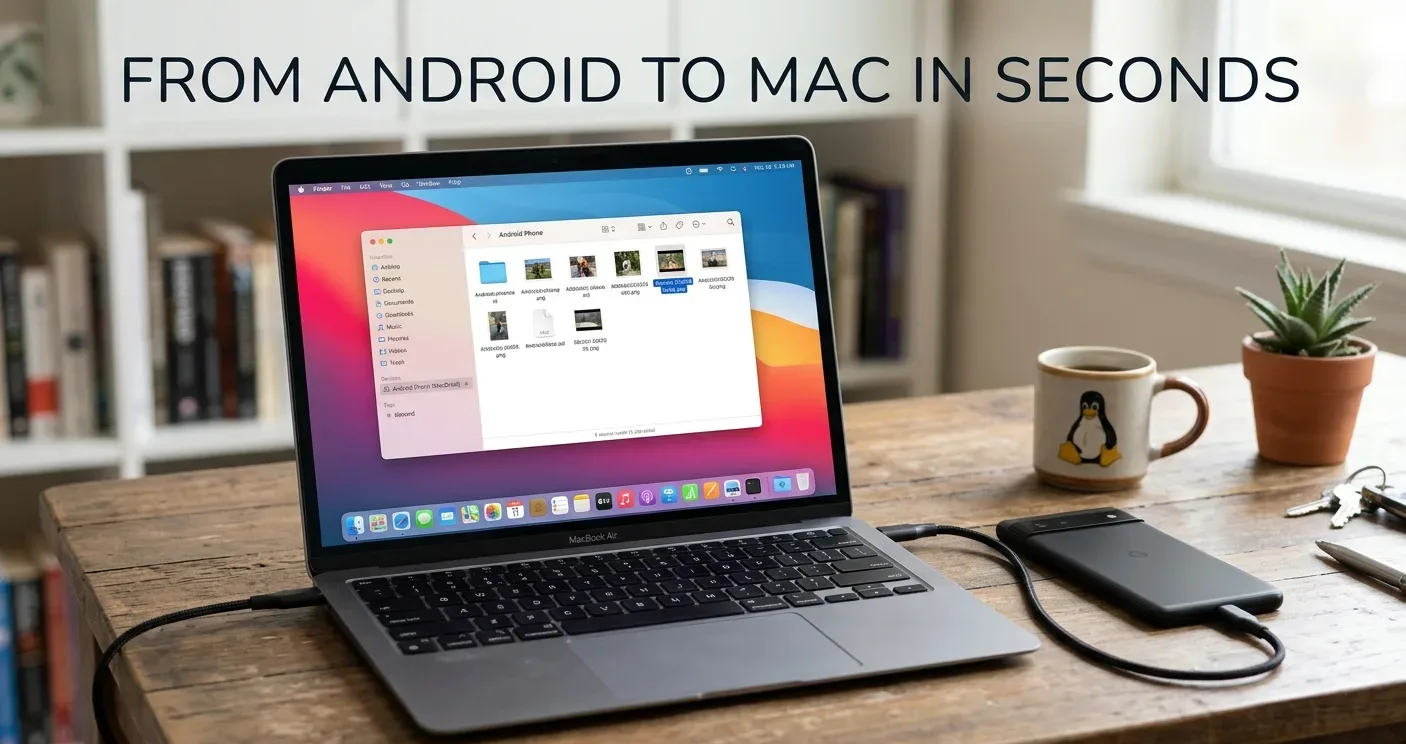
MacDroid is a Mac app that mounts an Android phone, or anything else that speaks MTP, so its storage shows up in Finder like a drive.
You can connect over USB using MTP or ADB, or over your local Wi-Fi. For this walkthrough I’m sticking with USB and MTP, since there’s the least to set up. Menu names on the phone vary by manufacturer and Android version, so yours may not match mine word for word.
- Install MacDroid on your Mac and open it. You’ll need macOS 11.5 or later.
- Unlock your phone.
- Plug it in with a USB cable that carries data. Plenty of cables only charge.
- On the phone, pick File transfer from the USB prompt or notification.
- In MacDroid, go to Devices, select your phone, choose MTP mode and click Mount.
- Open the phone in Finder and go to the folder you need. Camera photos and videos are usually in DCIM.
- Copy the files into a folder on your Mac, then open that folder to make sure they’re there.
The free version of MacDroid lets you browse the phone and copy files from Android to Mac, which covers everything above. Going the other way (Mac to Android) or editing files directly on the phone takes MacDroid PRO. According to MacDroid’s FAQ, the yearly subscription comes with a 7-day free trial.
MTP, ADB or Wi-Fi?
Start with MTP. All it needs is a data cable and the File transfer setting. There are two catches: only one app can use the phone’s MTP connection at a time, and folders with a huge number of files can be slow to list.
ADB is the other USB option, which MacDroid calls its advanced mode. You’ll need to enable Developer options, turn on USB debugging, and tap Allow when the phone asks whether to trust the Mac.
Give it a try if MTP keeps clashing with other apps. ADB still works within Android’s permission model, so it can’t open other apps’ protected data.
Wi-Fi gets rid of the cable but takes more setup. Both devices have to be on the same network, and USB debugging has to be on. On Android 11 and later you pair through Wireless debugging, with a QR code, a pairing code or manual entry. Android 10 and earlier connect by IP address. It’s the one to use when a cable just isn’t practical.
A real workflow: phone to project folder
Back to our creator: new clips on the phone and a connection that won’t stay up. The footage is sitting in the camera folder (DCIM/Camera on most phones), and it has to land in a project folder on the MacBook. Call it Movies/Harbor Shoot/Footage.
Doing it through the cloud, you’d pick the clips in Google Photos or Drive, upload them, sit there until the last one finishes, and then download or sync them to the Mac.
If the connection drops at any point along the way, you’re stuck. There’s also a catch if Photos backs up in Storage saver: its copies of anything above 1080p get shrunk, so you’d end up going back to the phone for the full-quality originals anyway.
The direct way is six steps:
- Create the Footage folder on the Mac.
- Plug in the phone, choose File transfer and mount it in MacDroid.
- In Finder, open DCIM/Camera on the phone and sort by date to find the shoot.
- Select the clips and photos and drag them into Footage.
- Check the counts. With View > Show Status Bar turned on, Finder shows how many items you’ve selected and how many the folder holds.
- Unmount and unplug the phone, then open one clip and one photo from Footage.
If both open with the phone unplugged and Wi-Fi switched off, the files really are on the Mac and you can start editing. Want to send your finished exports back to the phone? You can, but that part needs PRO.
What about offline use, speed and privacy?
People often treat these as one question. They aren’t. Moving files without internet and using them without internet are separate things.
A USB copy works with no connection once the app is installed and the phone is set up, and the copied files stay put after you unplug, like anything else on your Mac.
Google’s tools can work offline too, but only after the files are mirrored, marked for offline access or downloaded. With the cloud, you need a connection before those local copies exist at all.
Speed is harder to pin down. Going direct, it comes down to file size, your cable and port, the phone’s storage, the connection mode and, on Wi-Fi, how solid the network is. Going through the cloud, it’s mostly your internet. So when an app’s marketing promises transfers “in seconds”, take that to mean fewer steps. Nobody’s holding a stopwatch.
Copying locally keeps one more copy off a third-party server. It doesn’t secure your files by itself, though. That still comes down to your Mac account, disk encryption, backups and which apps can access the phone.
When it won’t connect, and when to stick with Google?
When the Mac won’t see the phone, it’s usually one of these:
- The phone charges but never shows up. That’s usually a charge-only cable, so try a different one or another port.
- It shows up, but the storage looks empty. Unlock the screen and make sure the USB mode is File transfer, not charging only.
- Using ADB? Double-check that USB debugging is on and that you tapped Allow when the phone asked to authorize the Mac.
- MTP keeps failing. Something else is probably holding the connection, often Image Capture or Photos. Quit them and plug back in.
- Wi-Fi pairing won’t go through. Confirm both devices are on the same network and Wireless debugging is still turned on, then pair again.
My rule of thumb: go direct when there’s a batch of files on the phone that you need now, or when your internet is being unreliable.
Stay with Google for anything ongoing, like automatic backup, shared albums and folders, or getting to your files from a device that’s nowhere near the phone. And keep in mind that a folder you copied to the Mac is a one-time snapshot. It isn’t a backup.
So which one should you use?
It depends on what you’re moving and how good your connection is. If the files are already on the phone and you need them in a Mac folder now, especially big video files over a shaky connection, a direct Android-to-Mac app saves you the upload-and-download loop and lets you stay in Finder. If you want automatic backup, sharing or access from several devices, Google Drive and Google Photos still handle that better.
Either way, open a few of the copied files on your Mac before you delete anything from your phone.